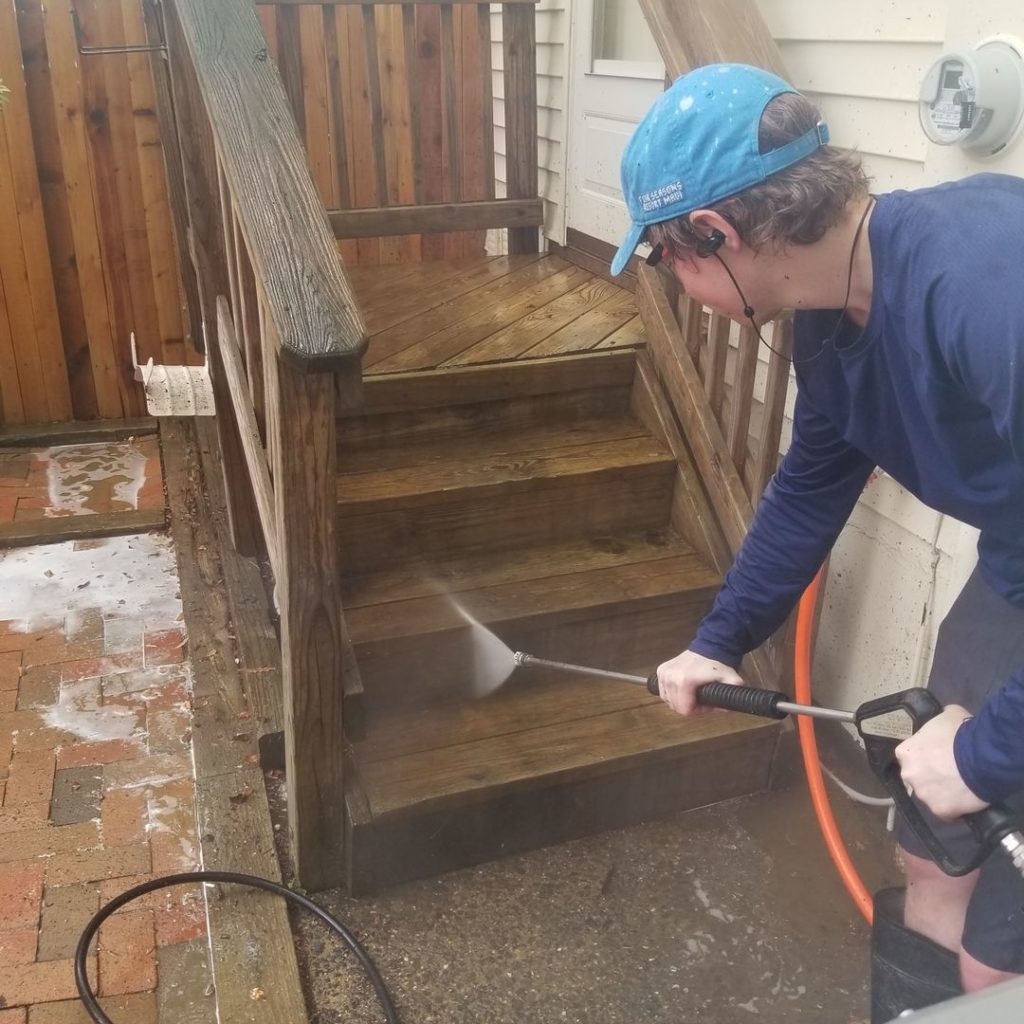
Wooden fixtures in your backyard are common focal points. Your deck is the centerpiece, the gathering place for your friends and family where you host barbecues with a beautiful view of the rest of the yard. Fences, on the other hand, frame your yard and provide the backdrop for everything in it. Just like how we want to spice up the interior of the house by painting a room, re-staining a deck or fence will breathe new life into your backyard.
With years of exposure to the elements, however, the wood’s going to need a thorough cleaning and prep before any staining can happen. Pressure washing as a way to tackle both is a great way to get the wood ready for a fresh coat of stain.
Clean Up Your Surroundings
To prevent sticks, rocks, and other debris from whipping around the yard, you’re going to want to thoroughly comb over the area. Make sure there are absolutely no loose materials laying around since these can be dangerous and potentially deadly when propelled by a jet of pressurized water. You’ll also want to clear the deck of any furniture that can be moved (maybe even setting it aside for its own cleaning to really make your backyard shine).
Just as important, check for any nails, screws, or splinters that may be sticking out from the wood and either replace or remove them before you start pressure washing. If you are pressure washing a fence, make sure you check with any neighbors beforehand. They might have objects hanging on their side of the fence that could get damaged if water escapes through the boards. Or there could even be people on the other side that a jet of water through the cracks of the fence could injure. As with all things, be safe and mindful of your surroundings.
Examine the Wood’s Condition
Sometimes staining just isn’t enough to revitalize a wooden deck or fence. Especially with fixtures that have been around for a long time, it might be better to replace them outright rather than slapping on a new layer of stain. Especially since pressure washing older wood requires a more delicate touch, you might end up damaging your deck or fence while trying to fix it up.
Assuming your deck or fence is still rather new, be sure to still inspect them, especially corners or where they connect with the house or other structures. Be on the lookout for any water-damaged wood that’s been cracked or getting soft with rot and replace those parts. Provided everything else is sturdy and the damage has been addressed, you should be fine to start pressure washing. If you’re uncertain when you find any signs of damage, however, consult a professional before continuing instead of risking more damage.
Choose and Apply a Wood-Friendly Cleaner
While not always necessary, a good cleaning agent and a thorough scrubbing will only help your pressure washing experience. Our best practice involves using an alkaline cleaner (like bleach or sodium percarbonate like OxiClean) followed by an acidic brightener (like citric or oxalic acid). Alkaline cleaners will help remove organic matter and dirt as well as remove grayed-out, UV-damaged wood fibers. Brighteners, in turn, neutralize alkalinity, brighten the wood’s color, and remove wood tannin, iron, and rust stains.
Use the pressure washer with a low-pressure nozzle while applying a wood-safe detergent evenly across the surface. You can also use a scrubber to tackle the hard-to-reach areas of your deck such as corners or places that need a little extra love.
If you decide to use a detergent, make sure you don’t allow it to dry on the surface. You will want to pressure wash while it’s still wet so it doesn’t set into the wood or mess up your subsequent staining. Be sure to refer to the detergent’s instructions as needed for more information.
Start Your Pressure Wash
Incidentally, pressure washing is the fun part, but the part where you risk the most damage to the wood. To begin, spray along the grain (length) of the wood. Going against the grain can more easily cause damage as the water is forced against the surface in a way that causes more resistance. Ideally, you’ll want to keep your nozzle about 8-12 inches away from the surface at a 90º angle to further reduce the risk of damage.
There are two important rules of thumb to keep in mind while pressure washing wood surfaces: be consistent and keep moving. Inconsistent application of pressure by lingering in one area will show in the final result — not to mention how sustained pressure in one spot can quickly damage the wood. Once the deck or fence is washed, give it a day or two to fully dry (we like to use a moisture meter since drying time depends on weather and climate). Then it’s time to stain!
Staining is a great opportunity to give your wood deck or fence some attention. If this is the first time you’ve gotten to take care of these fixtures since buying your home, this is also an opportunity to personalize your backyard scenery. Still, it’s important to do the prep work thoroughly to maximize the effect of the stain. Though we did focus a lot on decks and fences, these tips can be applied to any wood you’d like stained. And as always, if you’re ever unsure, you can always call on us for some professional help.


