Over the course of your driveway’s lifetime, it will see dirt, mud, oil stains, and all kinds of things that will detract from its cleanliness. It is important to clean your driveway when it gets too dirty, and pressure washing is the best way to do just that.
Anyone can pressure wash their own driveway. All you need to do is follow these steps.
Step #1: Prepare the Cleaning Area
Before you begin pressure washing your driveway, ensure the area is clear of anything that would get in the way. This includes cars, toys, movable basketball hoops, loose rocks, and any other debris not otherwise nailed down. A good sweep with a shop broom can help in this endeavor.
It’s especially important to remove anything that could become a projectile if hit with a water jet like rocks or bits of rock or metal that might be laying around. Failure to do so may result in injury.
Step #2: Apply Cleaning Agents
Once the cleaning area is cleared of debris, now’s the time to use a degreaser. Be sure to read the instructions on the bottle to apply properly. Some degreasers require you to agitate them with a brush before rinsing them away. Others can be slotted into your pressure washer with a special reservoir and hose to apply it with a wand instead.
You can use cleaning detergents in the same fashion. Just be sure to read the labels and DO NOT mix cleaning chemicals.
Step #3: Spray Down the Driveway
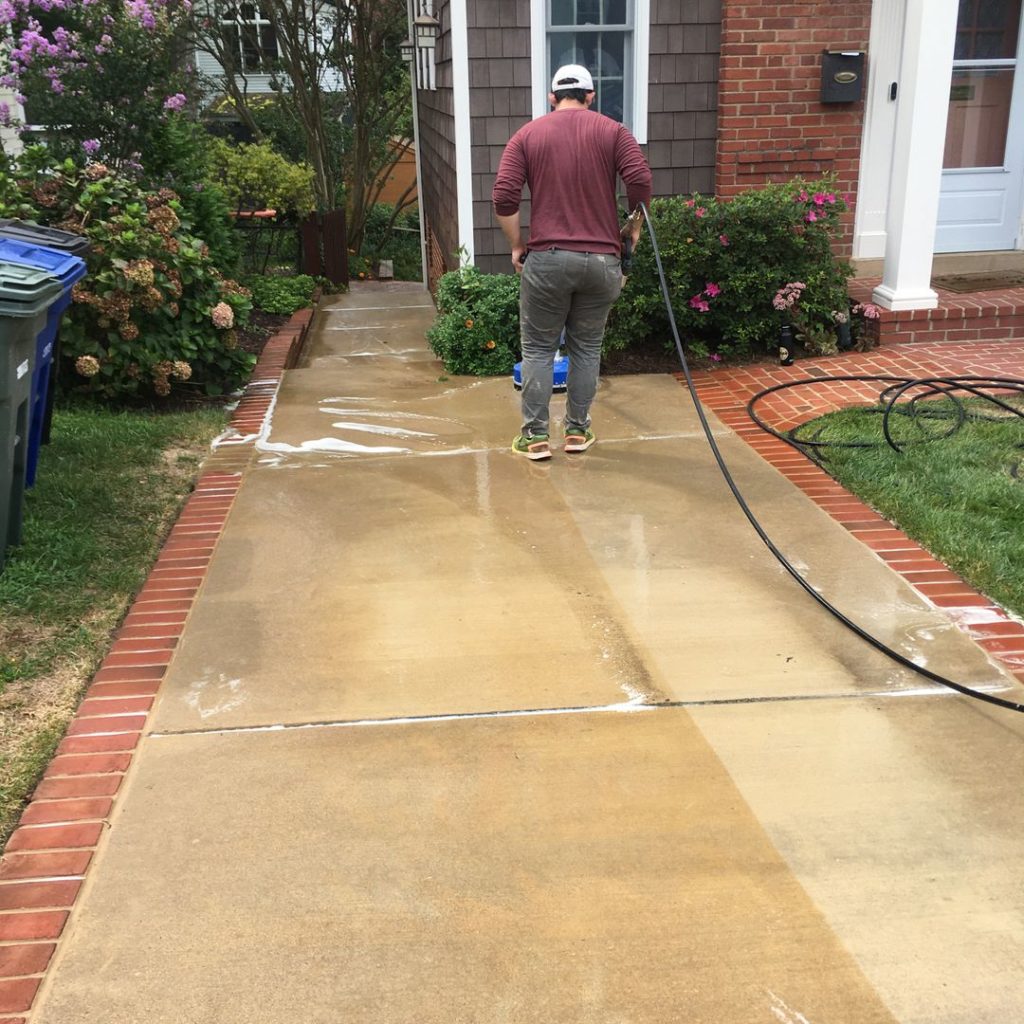
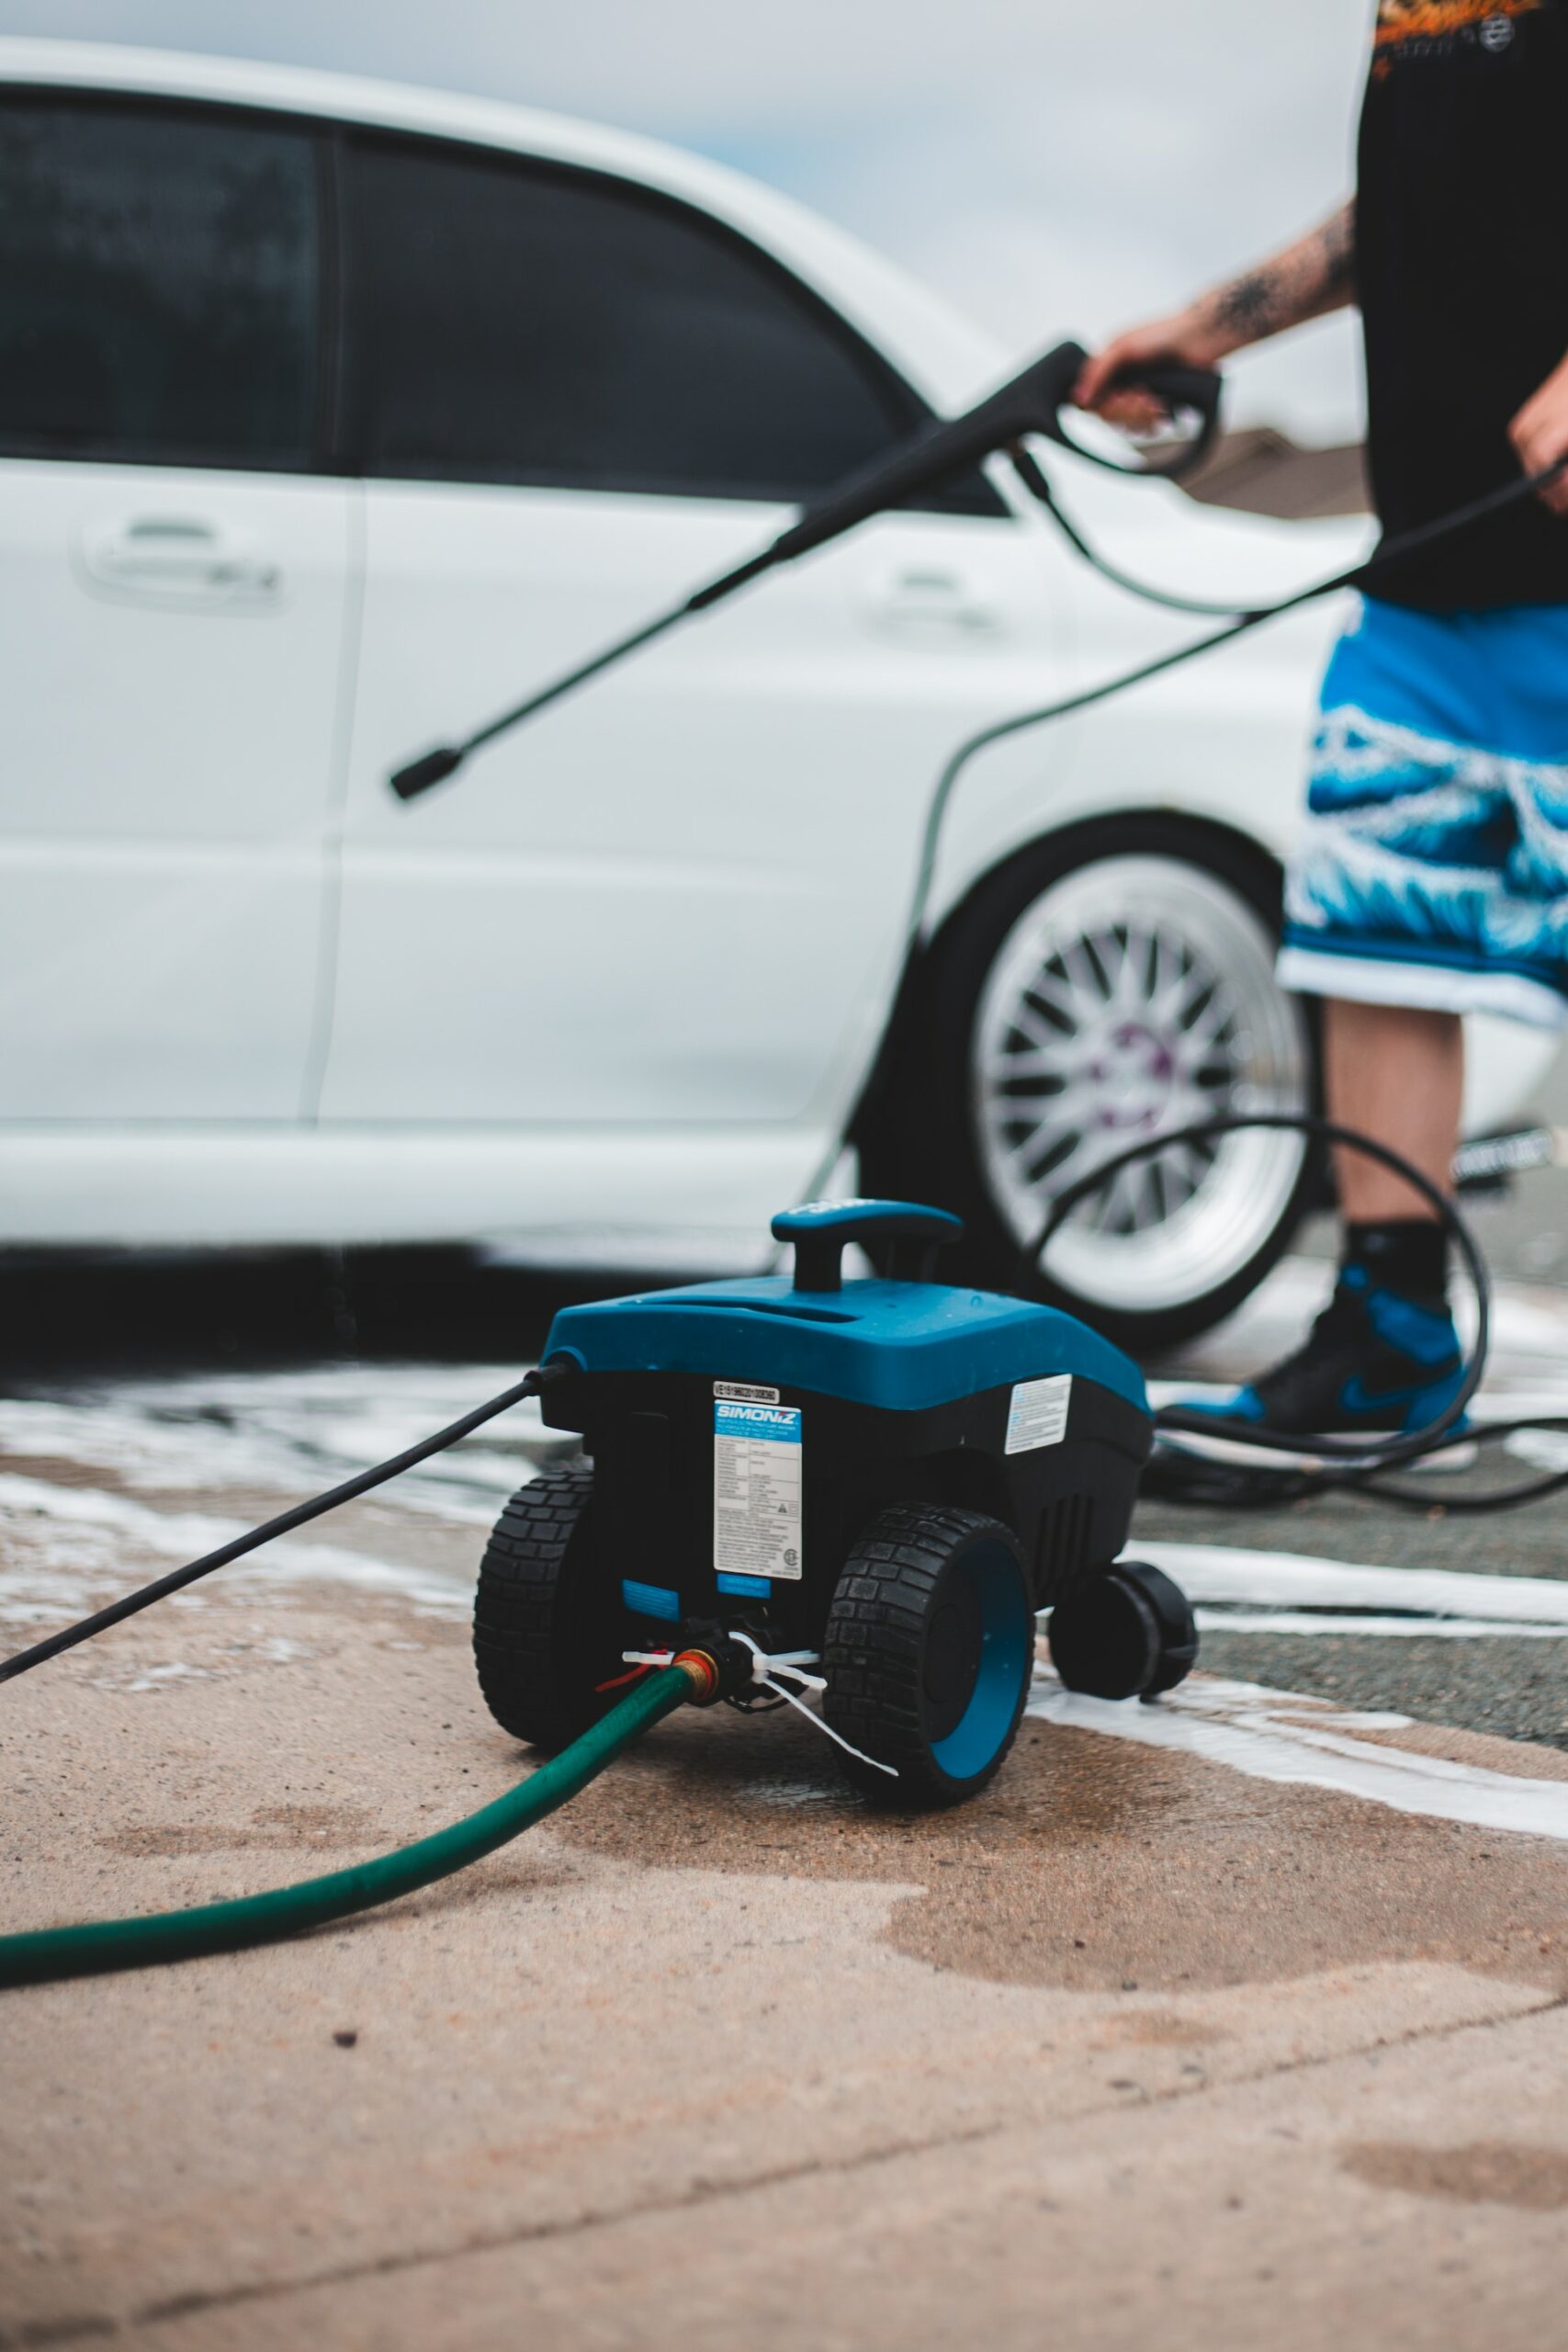
After the cleaning chemicals have done their job, you can get to pressure washing. We recommend using a surface cleaning attachment to make the job easier, though you’ll be fine using a green (25º) nozzle too.
The easiest way to pressure wash your driveway is to start at the highest point and work your way down. This keeps dirty water flowing away from clean areas so you don’t have to repeat your work. Work in small, easily-managed sections to help you focus and keep track of your progress.
For effective cleaning, sweep the wand back and forth across the section you’re working on in a tight pattern, making sure to overlap each stroke. Keep the nozzle approximately 6-8 inches from the surface, only getting closer for tougher stains.
In some cases, a power washer might be a better bet as the heated water can penetrate deeper into the surface to pull up oil and other grease. This is not recommended for brick or stone driveways as the sheer force of a power washer can cause damage, whether by gouging and scarring the surface or creating efflorescence once the water dries. If an oil stain has been there for years, unfortunately the best you can do is lighten it.
OPTIONAL: Apply a Sealant
Once the driveway is clean and dry, you can apply a sealant to keep it looking that way. Sealants are hydrophobic solutions that provide a protective barrier on whatever surface they’re applied to. Rainwater, oil, grease, and grime will have a much harder time sticking to your driveway, keeping it cleaner for longer. When it’s time to clean, a sealant can make the job easier since the gunk that did stick won’t be nearly as stuck as before.
Just be sure to reapply the sealant after subsequent washes as pressure and power washing can easily strip that away.
A Clean First Impression
When all is said and done, you should be left with a freshly cleaned driveway that will leave a good impression on anyone who sees it.
If you need more help, don’t hesitate to contact us and let the professionals take care of it.


