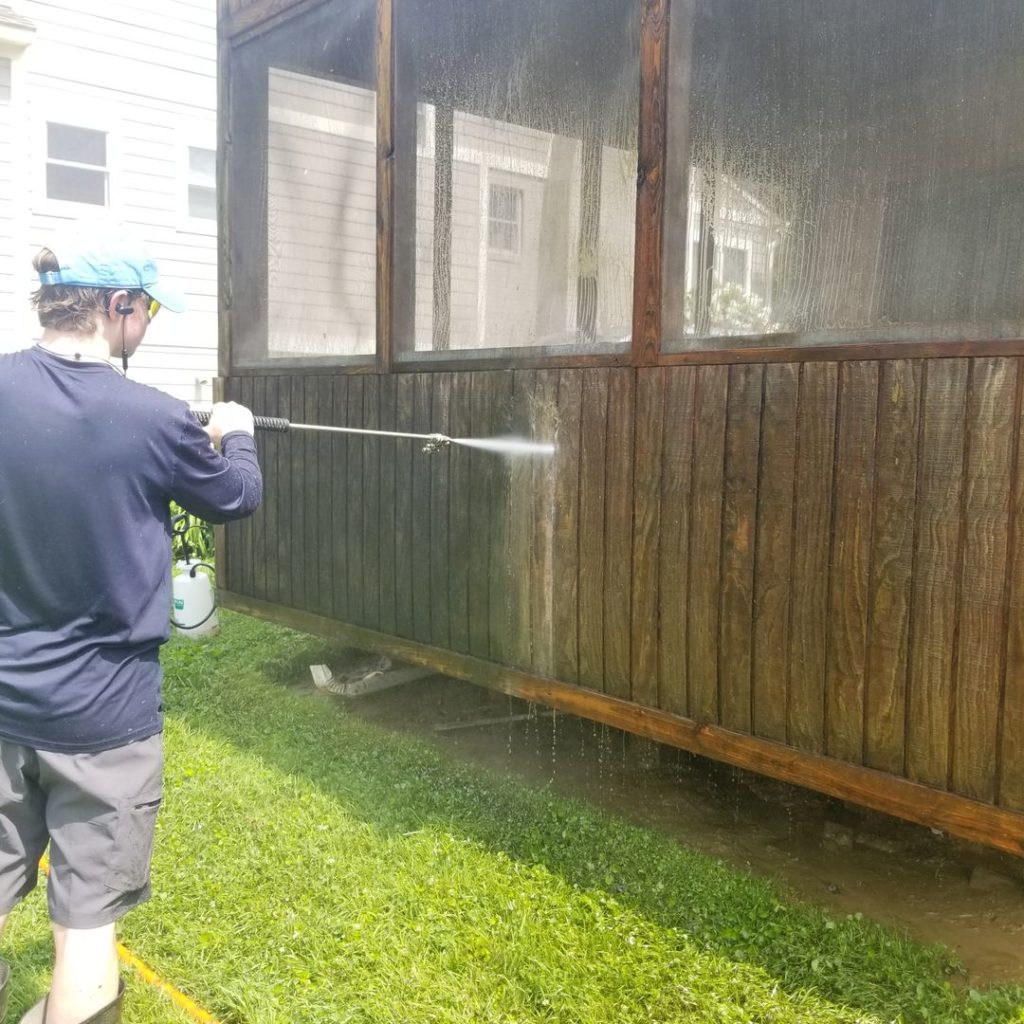
Your deck can drastically affect the perception of your home and yard. A beautiful home or garden will be towed down by a dirty deck. Thankfully, with a little bit of work, you can have your deck shining as a beacon of relaxation. Let’s overclock your yard and home’s atmosphere by giving your deck a good pressure washing.
Here’s our step-by-step guide to doing just that.
Step #1: Examine Your Deck’s Integrity
A brand new deck can easily weather the force of a pressure washer. A decades-old, decaying deck, not so much. Inspect the quality of your deck to ensure it won’t be damaged. Things to look out for are very soft wood and any holes caused by decay.
It’s also important to consider the type of wood your deck is made from. While all decks are quite sturdy, some use softer wood that is more prone to damage. Take the time to examine your deck and identify the wood it’s made from so that you can adjust the pressure to its resistance.
Step #2: Prepare Your Area
Loose objects are your #1 enemy when it comes to pressure washing. A rock that’s hit with a pressure washer becomes a projectile – and a fast, dangerous one at that. Take ample time to scour the area for anything literally not nailed down, including pesky loose nails. Your primary targets are rocks, large wood chips, toys, and other detritus.
When pressure washing a deck, you probably don’t want to also wash the furniture. Be sure to keep anything you’d like to remain dry far away from the deck. Especially keep it clear of the direction you will be spraying as mist can travel far.
Step #3: Apply Detergent
Like any pressure wash job, a good detergent will make your job much easier. A wood-safe mixture sprayed on top of the wood can loosen up any mildew, algae, or mud. That way when you pressure wash, you’ll need less pressure to get the job done. Less pressure means less risk of damage to your beautiful deck and less effort needed to clean it.
Step #4: Spray Down
Finally, the fun part: pressure washing. To begin, start at a low-pressure setting. Spray the wood and increase pressure as necessary until you’re getting the results you’re looking for. Always spray along the length of the wood to prevent any unnecessary damage.
Keep your nozzle at about 30º, standing six feet from your target. Be sure to keep your pattern consistent and you’ll be cleaning like a pro in no time.
OPTIONAL: Sanding and Refinishing
While you don’t always need to sand after pressure washing, we recommend taking the time to do so, especially regarding your deck. Wet wood can dry in such a way that leaves lots of little bits sticking up that are eager to splinter and stick themselves into the skin, feet, and paws of unsuspecting deck-users.
Using either a power sander or sandpaper, sand with the grain of the wood. While this may be time-consuming, it will leave your deck feeling and looking much smoother. This step is especially important if you have children or pets since sanding will reduce the chance of slivers.
OPTIONAL: Brightening
Applying a brightener can really bring out the cleanliness of the deck. After all, you’ve gone through all that trouble to get it clean in the first place. Might as well enjoy it.
Get yourself a wood brightener compatible with your deck and spray on an even coat. Leave it to set for 10 minutes before rinsing off.
It is an unfortunate reality that pressure washing a deck requires more work than just spraying. Luckily, it’s not too intensive and can be done in an afternoon. Not bad, considering the effect it will have on your backyard scenery and home. In case you don’t have time to spare, you can always call one of our helpful experts to lend a hand.


